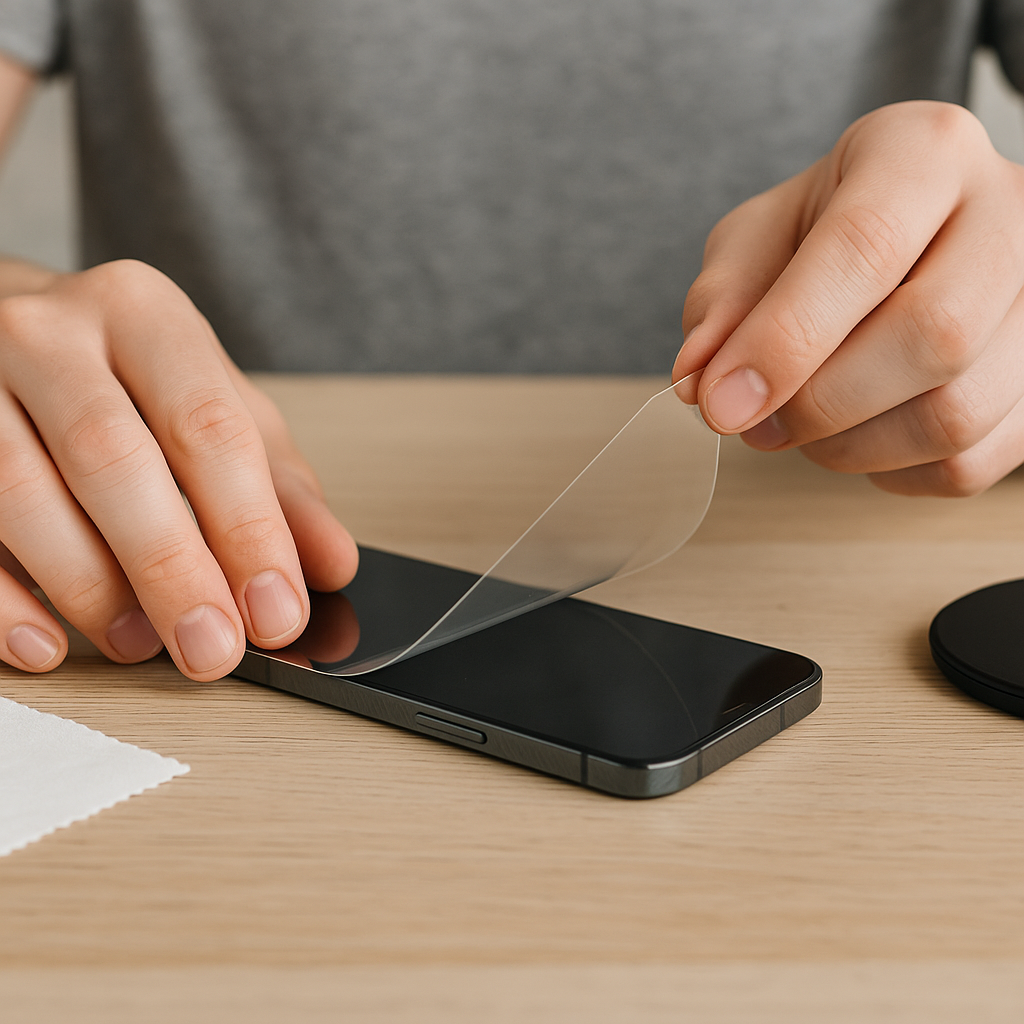
Bubble-free installation instructions – Screen protector perfectly in place
Share
Do you have a new screen protector waiting to be installed? In this blog, you will find complete instructions for bubble-free installation – whether it is tempered glass, hydrogel or other screen protector. Also included are tips from professionals and best tricks that will ensure you succeed – even on the first try. 💡
🧼 1. Prepare the space – prevent dust in advance
-
🛁 Install in the bathroom immediately after showering:
The steam binds dust from the air, preventing it from floating on the screen. -
🚪 Close the doors and windows and let the air settle for 5 minutes.
-
🧴 Avoid cleaning sprays and dusty textiles - they raise airborne particles.
-
🧤 Wash your hands and wear rubber gloves if you wish - less grease, fewer mistakes.
📦 2. Supplies ready
✅ Screen protector
✅ Microfiber cloth
✅ Alcohol wipe or screen cleaner
✅ Dust removal sticker (if available)
✅ Mounting frame or alignment tool (if included)
🎯 Tip: If a mounting frame is included, use it – it makes alignment precise and easy.
🔍 3. Clean the screen thoroughly
-
Clean with an alcohol wipe – removes grease and fingerprints.
-
Dry with a microfiber cloth – make sure not a single drop remains.
-
Remove any remaining particles with a dust removal sticker.
💡 Pro tip : Use the tape “hinge technique” where you tape one edge of the shield before final installation. This ensures perfect alignment.
🧩 4. Align perfectly
-
Carefully align the screen protector using the speaker holes and corners.
-
If the cover has black borders, make sure they are even on both sides.
-
Don't press yet – lower the edge of the guard like a hinge and check the alignment again.
💨 5. Bubble-free attachment
-
Remove the protective film.
-
Lower the cover slowly, starting from the middle.
-
Let the glue take hold by itself – press lightly in the middle.
-
Wipe air bubbles outwards with a cloth or installation spatula.
⚠️ Do not apply too much pressure, especially with hydrogel – too much force can stretch the material.
🧊 Arctic Shield screen protectors are designed to be easy:
You can position the shelter as many times as you want – it is only attached once the location has been selected and decided.
Comprehensive instructions and a video tutorial with a QR code are always included. In addition, our customer service is always available to help if you have any questions about installation or the product.
🫧 6. What if there are bubbles left?
-
Small bubbles : most often disappear on their own within 1–3 days.
-
Dust bubble : carefully lift the corner, remove the particle with a dust sticker and lower the cover back.
-
In UV-cured coatings : a small air bubble may only disappear completely after UV curing.
🧠 Additional tips: These will definitely help you succeed
🟢 Try installing in a humid space after a shower – there is less dust in the air
🟢 Avoid fleece or wool clothing, they raise dust
🟢 Use a flashlight or bright light – makes it easier to see dust and air bubbles
🟢 Install your seat on a stable surface – no shaky handwriting!
🟢 If you fail, don't panic - mobiilikauppa.com offers product protection at an affordable price
⚡ Is the protection OK? Also make sure there is power!
Once the screen protector is perfectly in place, it's a good time to make sure the charging side is also in order .
Discover mobiilikauppa.com's popular wireless and magnetic chargers - a stylish and efficient way to always keep your phone ready to use. 💥
🔗 Wireless & Magnetic Chargers – All-in-One
❓ Frequently asked questions
How long does it take for the shelter to set up?
→ Most coatings will level out within 24–72 hours and any bubbles will disappear on their own.
What if I fail the installation?
→ mobiilikauppa.com offers product protection – you get new protection for a small processing fee.
